


DIY interior painting can be an exciting project, but without the right technique, it can get tricky. If you’re planning to refresh your space, these interior painting tips from Urban Painter will make the job easier and more professional.
With years of experience, our professional Adelaide team knows what works and what to avoid. From prep to the final coat, here are seven interior painting tips to help you get a great result with flawless finish every time.
Choose the Right Brushes and Rollers
Selecting the right tools is critical to achieving a flawless finish. You don’t need the fanciest brushes, but you do need the right ones. For large areas like walls, grab a roller. It’s faster and gives you a nice even coat. Go for a medium-nap roller for smooth surfaces, or a thicker one if your walls are a bit rougher. The bigger the roller, the quicker the job gets done.
For trim work (think windows and doors), you’ll need smaller brushes. These will help you get those sharp, clean lines. If you really want to get fancy, an angled sash brush is great for tight corners. Also, use brushes designed for your type of paint. If you’re using latex, go for synthetic bristles (nylon or polyester). For oil-based paint, natural bristles work best for interior paint.
Prep Your Surfaces
Before you start interior painting, proper surface preparation is key. Start by cleaning the walls, dust, grease, whatever might be on them. If the room’s been used a lot, wash the walls with some mild soap and water to get rid of the grime. This will help the paint stick and give you a smoother finish.
Look out for any holes or cracks. A little spackling compound will fix that. Once it’s dry, give the wall a quick sand to make it nice and smooth. If you’re covering a dark color with a lighter one, you might want to sand a little more to help the new paint really stick.
Always use primer because it’s especially important if you’re going from one bold color to another, or if you’re working with a wall that hasn’t been painted before. Primer makes the color pop and ensures better adhesion, so don’t skip it.
Paint Trim First for Clean Lines
When it comes to painting trim, doors, and windows, it’s a good idea to start with the trim. By painting these details first, you won’t have to worry about keeping a steady hand when painting your walls.
Use painter’s tape along the edges of the trim to protect the wall. If you’re going for an ultra-neat look, use a trim brush with angled bristles to get into tight corners. Take your time to paint the edges and corners of trim first before rolling the larger areas. Once the trim is done, you can focus on the larger areas with a roller without worrying about messing up the edges.
Use High-Quality Paint for Better Coverage
The best interior paint is worth the investment. Don’t go for cheap interior paint. High quality interior paint covers better, lasts longer, and saves you time because you don’t need as many coats. Also, think about the finish you want. If you’re going for that soft, cozy vibe, matte or eggshell finishes are perfect. But if you’re painting a high-traffic area (like the kitchen or bathroom), a satin or semi-gloss finish is more durable and easier to wipe down.
When you’re picking a color, remember that darker shades will probably need a few more coats, while lighter ones are usually quicker to cover. If you’re unsure, just test a small patch to see how it looks in your space. Lighting can make colors look different, so it’s good to check before you commit.
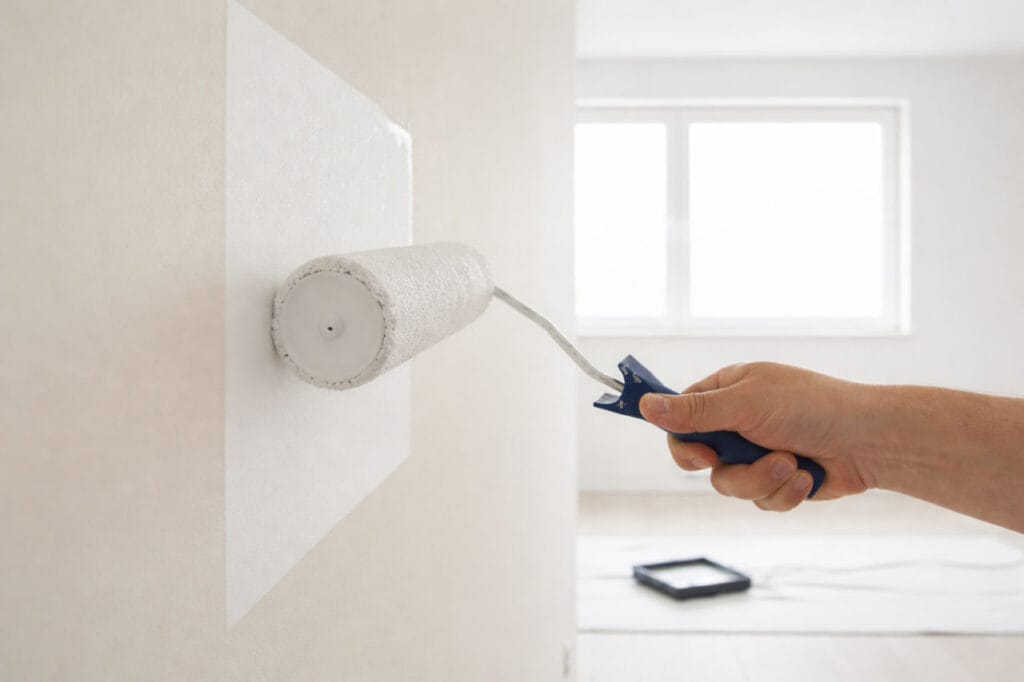
Apply Multiple Thin Coats for a Smoother Finish
One common mistake people make when painting is applying thick layers of paint in an attempt to speed up the process. It might seem like a shortcut, but it’ll only leave you with streaks, drips, and uneven coverage. Instead, go for multiple thin coats. They dry quicker and give you a smoother finish.
Start with a roller for large areas, and then use a brush for edges and corners. Make sure each coat is fully dry before adding the next. This technique will ensure that the paint is applied perfectly.
Allow Adequate Drying Time Between Coats
It’s essential to let your paint dry completely between coats, especially when applying multiple layers. Let each coat dry properly before you go in with the next one. Drying times depend on the type of paint, how humid it is, and how warm the room is, but typically, latex paints dry to the touch within an hour. Still, give it at least 2-4 hours before applying another coat.
If you don’t let it dry enough between coats, you might end up with a streaky finish. You could also trap moisture between layers, which can cause bubbles or peeling down the road. Be patient, and allow each coat to dry thoroughly for a professional-quality result.
Clean Up Your Tools for Next Time
Once the painting is complete, it’s important to clean and maintain your brushes, rollers, and trays. Brushes can be difficult to clean if you leave paint to dry in them. After you’re done painting, wash your brushes with warm water if you’re using latex paint, or mineral spirits for oil-based paint. Rinse them until the water runs clear and reshape the bristles so they’re ready for next time.
Rollers can also be washed and reused. Just roll them on some newspaper or cardboard to get rid of the excess paint, then rinse with warm water until it’s all cleaned up. Hang everything up to dry and store them properly to make sure they last.
Why These Interior Painting Tips Make a Difference
With these seven simple interior painting tips, you’ll be on your way to achieving a beautiful, professional-looking paint job. Whether you’re going for a bold new color or just giving your space a quick refresh, a little prep and patience go a long way. Take your time, follow these tips for interior painting, and you’ll be amazed at how much a fresh coat of paint can change your space.
